Boy, oh boy do I have a treat for you today.
I've been getting a heck-of-a-lot of emails from you wondering how I create those cool animated photos that I love so much.
Well, guess what?
My lovely friend Kristen, over @ Confessions of a Graphic Design Student
is here today to show you just how to make those very awesome photos come to life.
Oh, and she's pretty cool herself.
If you don't go visit, it'll give me a frowny face.
And trust me, my frowny face is an ugly one... so you do NOT want that.
*****************************************
Create a new document in Photoshop and make sure the dimensions match your photos (if you want it to be displayed on your blog make sure the sizing will fit the dimensions of your post section- more details on that later). Have both your PS document and the photo file open so they are both visible on your screen. Select all of the photos you want to use and drag them onto your document. If you sized the document dimensions to match your photos they should all fit and line up perfectly. You will notice the photos have an X across it. Place the photos by hitting Enter so each one will have their own layer. Keep hitting enter until all of your photos are on separate layers. Next, you want to open your Animation palette (Window>Animation) Go to the drop down menu on the top right hand side of the palette. Choose "Make Frames from Layers"
- You should see small thumbnails of all of your photos appear. You can easily rearrange them by clicking and dragging the thumbnails to the desired frame order.
- Now you want to set up the time delay and loop settings. Go to the palette drop down menu again and click on "Select All Frames"
- You will notice there are default time delay settings at the bottom of each thumbnail. Since all of your photos are selected, click the arrow next to the time delay setting and choose the desired duration (I chose 0.5 seconds for mine). The new duration should now show up under all of your frames.
- You will also notice there is a small drop down menu on the lower left hand side below the thumbnails with the loop setting. Choose "Forever."
- Now you just need to save it! Go to File>Save for Web and Devices...
- Make sure the format is set to GIF, click on Save, And you're done!
Now you can sit back and watch your pretty pictures come to life!
YOU. ROCK.
NOTE: When I uploaded my GIF to Blogger for publishing it did not animate unless it was clicked on. I guess this is a common glitch for Blogger users, so the way to get around it is by uploading to a free hosting site like Photobucket. Once uploaded it should start animating (if it's not then you did something wrong during saving). Grab the HTML image code and copy it into your post's HTML tab (This is why you want to have the dimensions match your posting area so it will fit- Photobucket did not offer any resizing options!).
Also, if you want to be extra cool you can edit each photo first by doing color splashes like Aunie does. I will be highlighting that technique in my next tutorial along with many others, so if this was helpful for you please stop by my blog and follow! :)
xo, Kristen
*****************************************
Whoa-- amazing, right?
See, I do all mine over at Picasion.com... and hers is so much nicer.
Mine always have a terrible, grainy texture to them... and Kristen's is absolutely perfect.
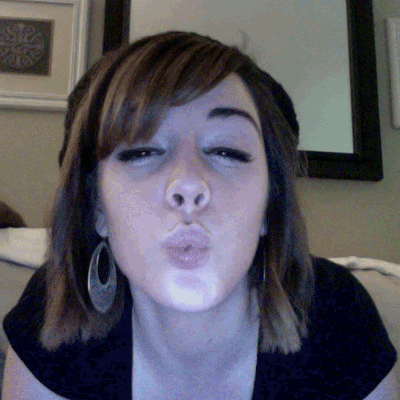
She's cool because:
- She's super cute.
- Her haircut is awesome. And you know I love hair.
- She and I ALWAYS comment on each other's posts and email back and forth.
- She featured little 'ol me last week on her Confess to a GDS series.
- She used the word F'reals. Yes she did. Right up there. Find it. She's awesome.
Head on over to her page and say "hiya, new buddy!"
xo

9 comments:
I just found your blog through Kristen's and I have to say that it is SUPER adorable! Love it. I'll definitely be following :)
Hey! Cute cute!
and...
I don't use any special products on my hair and i don't take any vitamins. I should, but i don't. Maybe i'll start to now that i know it helps hair grow faster. Thanks for the advice.
--T
Annie Suace! I'm def going to try and animate! xx m
Love her blog - new follower thanks to you giiirl :)
xo!
Thank you for that tutorial. Will definately give it a go when I get back after my school holidays (no photoshop at home)
Thanks for the feature, Aunie! You are just fab. F'reals :P
Just found your blog through Kristen & I love it! Can't wait to start following! :D
xo,
ashlee
www.thepurplepomegranate.blogspot.com
This was a great guest post! I love gifs! She is super cute, and her hair is too! I better check out Kristen's blog!
Wow! That sounds easier than I thought it would be!! I just started learning photoshop so everything is still so amazing to me about it. I just might have to try making one of these!!
Post a Comment